
Nightguard Fabrication
SprintRay NightGuard Flex 2 & Firm 2 — Lab Manufacturing Procedure
| Owner | Lab Technician (process owner) |
|---|---|
| Applies to | Smile Avenue Family Dentistry in-house lab |
| Start | Case received in Medit Lab with scan QC |
| End | Nightguard bagged and logged in SEAZONA for outbound delivery |
| Related | Station Job Aid SOP-LAB-020-JA |
1. Purpose
This procedure standardizes in-house manufacturing of SprintRay nightguards / occlusal guards (NightGuard Flex 2 or NightGuard Firm 2) so every case meets the same quality, safety, and traceability standard before leaving the lab.
2. Scope
- In scope: Medit Lab intake → scan QC → 3Shape Automate design → RayWare / Pro 2 print → ProWash S → NanoCure → finish & polish → lab clean → bag & SEAZONA outbound log.
- Out of scope: Chairside scanning technique; clinical try-in, seat, and adjust (including warm-water soften try-in); patient delivery; chairside chemical disinfection; RPD / denture workflows (SOP-LAB-030); soft thermoplastic vac-form guards; non-SprintRay printers; legacy NightGuard Firm on the Pro 2 path.
3. Roles
| Role | Responsibility |
|---|---|
| Clinical Assistant / Office | Sends case via Medit Lab; receives bagged nightguard from lab |
| Lab Technician | Scan QC; import to 3Shape Automate; export STL; approve design; manufacture; finish; bag; SEAZONA log |
| Trainer / Lead Lab Technician | Competency observation and sign-off |
| Doctor | Clinical indication, Firm vs Flex Rx, try-in, and remake authorization (outside manufacturing steps) |
4. Practice Configuration
| # | Item | Smile Avenue setting |
|---|---|---|
| 1 | Printer | Pro 2 only for this path |
| 2 | Cure unit | NanoCure — select exact resin profile printed (NightGuard Flex 2 or NightGuard Firm 2) |
| 3 | Case intake | Medit Lab |
| 4 | Design | 3Shape Automate (3Shape Automate designs; Lab Technician imports, exports STL, and approves) |
| 5 | Wash | ProWash S — IPA ≥ 91% — standard preprogrammed cycle |
| 6 | NightGuard Flex 2 shades | Simply Clear and Ocean Blue — select per prescription |
| 7 | NightGuard Firm 2 | Per prescription |
| 8 | Avoid | Legacy NightGuard Firm on Pro 2 (not IFU-validated for Pro 2 / NanoCure) |
| 9 | Lab clean before bag | Soap, toothbrush, and warm water (and/or steamer), then dry. Cleaning — not chemical disinfection. |
| 10 | Design approval before print | Lab Technician |
| 11 | Case log | SEAZONA |
| 12 | Design QC thickness | ≥ 1.0 mm (IFU / workflow) |
5. Safety
- Treat uncured NightGuard Flex 2 and Firm 2 as sensitizers. Work in a well-ventilated area.
- Wear nitrile gloves, protective eyewear, lab coat or gown, and face protection when handling uncured resin, IPA, or grinding/polishing.
- Do not place incompletely cured resin in the mouth. Do not bag an under-cured appliance.
- Skin contact: wash with soap and water. Persistent irritation: stop work and follow the SDS.
- Do not substitute non-validated printers, washers, cure units, or resins for this path.
- Cure liquid waste resin fully before disposal. Follow hazardous-waste rules until cured.
- Do not use expired resin.
6. Materials & Equipment
Resins
| Resin | Shades / notes | Prefer when |
|---|---|---|
| SprintRay NightGuard Flex 2 | Simply Clear, Ocean Blue — select per Rx | Soft / flex feel; Pro 2 + NanoCure |
| SprintRay NightGuard Firm 2 | Per Rx | Harder occlusal guard; Pro 2 + NanoCure |
| Legacy NightGuard Firm | — | Do not use on Smile Avenue Pro 2 / NanoCure path |
Also: IPA ≥ 91%.
Contraindications (all NightGuard resins): known allergy to ingredients; intraoral contact with uncured resin; any use outside indications (mouthguards / nightguards).
Equipment stack
| Step | System |
|---|---|
| Intake | Medit Lab |
| Design | 3Shape Automate |
| Nest / print | RayWare → Pro 2 |
| Wash | ProWash S |
| Cure | NanoCure — exact NightGuard Flex 2 or Firm 2 profile |
| Case log | SEAZONA |
Design QC targets (review 3Shape Automate design)
| Area | Minimum |
|---|---|
| Appliance thickness | ≥ 1.0 mm |
Confirm coverage and arch match the prescription; intaglio free of critical voids; correct resin family (Flex 2 vs Firm 2) and Flex 2 shade if applicable.
Polish kit (SprintRay Master Workflow Guide — Night Guards)
| Step | Tools / media |
|---|---|
| Smooth supports | Lab handpiece; abrasive wheel or carbide bur (low RPM ~10–12k); Scotch-Brite / Fuzzies as needed |
| Pre-polish | Dental lathe; muslin wheel; pumice (keep wheel damp; pumice flowable) |
| Polish | Fresh muslin; Tripoli — firm pressure, then light pass |
| High shine | Fresh muslin; Hatho beige (or equivalent) |
| Optional high gloss | Cotton buff; Hatho pink (optional) |
| Cleanup | Steamer and/or soap + toothbrush + warm water; dry |
7. Process Controls
| Gate | Do not proceed if | Proceed when |
|---|---|---|
| Intake | Case missing or files unreadable in Medit Lab | Case open with matching ID / Rx |
| Scan QC | Holes, missing bite, inadequate anatomy | Scans usable for design |
| Printer | Queued to any printer other than Pro 2 | Pro 2 only |
| Design | Not Lab Technician–approved; thickness < 1.0 mm | QC-A pass |
| Resin | Expired, wrong family, or legacy Firm on Pro 2 | In-date Flex 2 or Firm 2 per Rx; shaken 1 minute |
| Wash | IPA < 91% | ProWash S standard preprogrammed cycle |
| Pre-cure | Part wet | Fully dry |
| Cure | Wrong profile / custom times invented | NanoCure exact Flex 2 or Firm 2 profile complete |
| Outbound | Failed QC-E; not bagged; not logged | Bagged + SEAZONA outbound ready |
8. Procedure
A. Intake & scan QC
B. Design (3Shape Automate)
QC-A: Coverage matches Rx; thickness ≥ 1.0 mm; intaglio free of critical voids; correct resin family / shade; STL labeled.
If QC-A fails — return to 3Shape Automate for redesign; do not nest. Do not redesign casually in-house unless the practice directs otherwise.
C. Nest (RayWare)
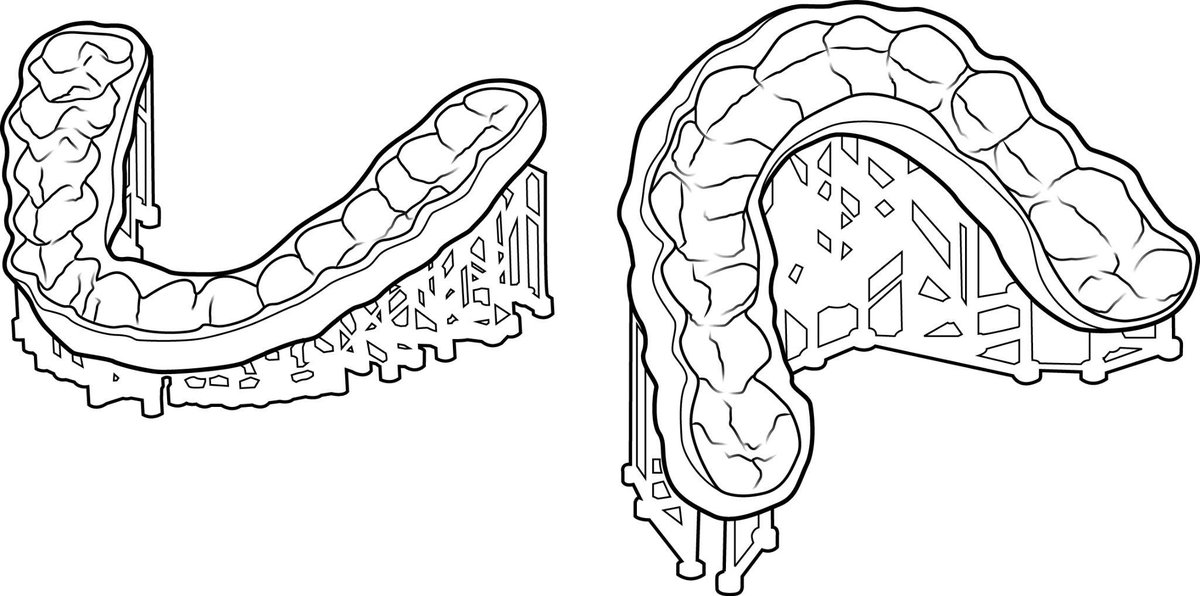
D. Print
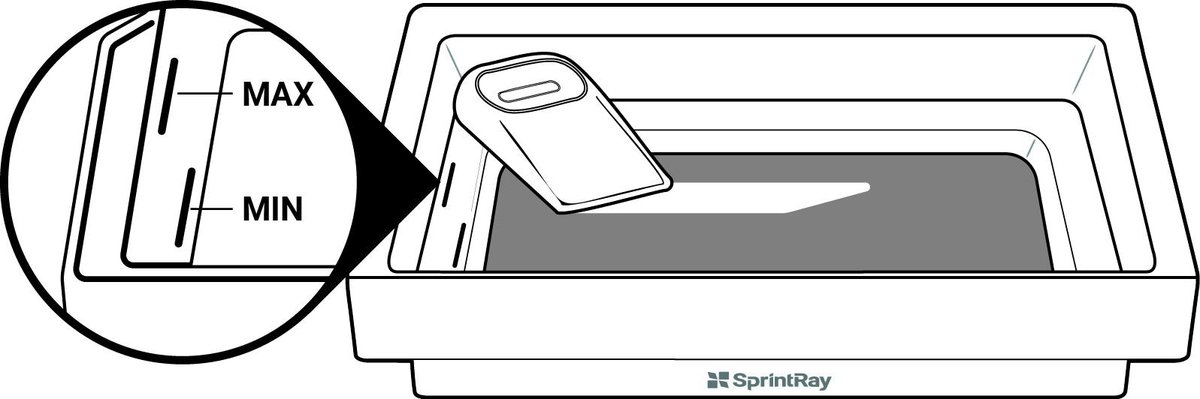
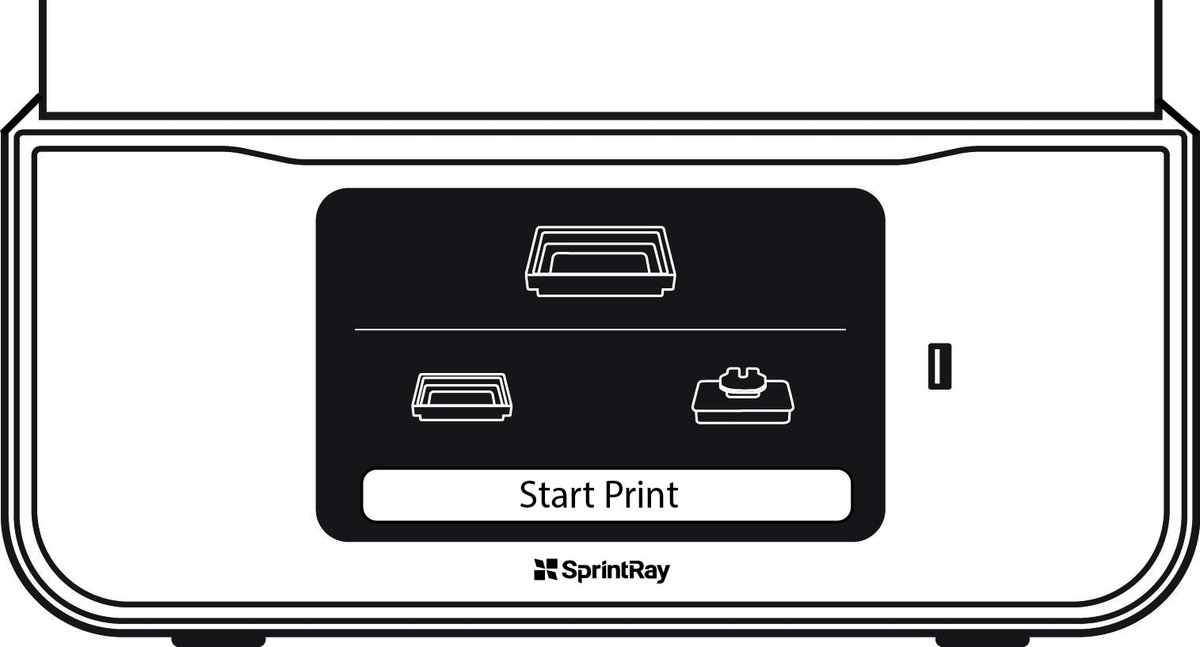
E. Wash & dry
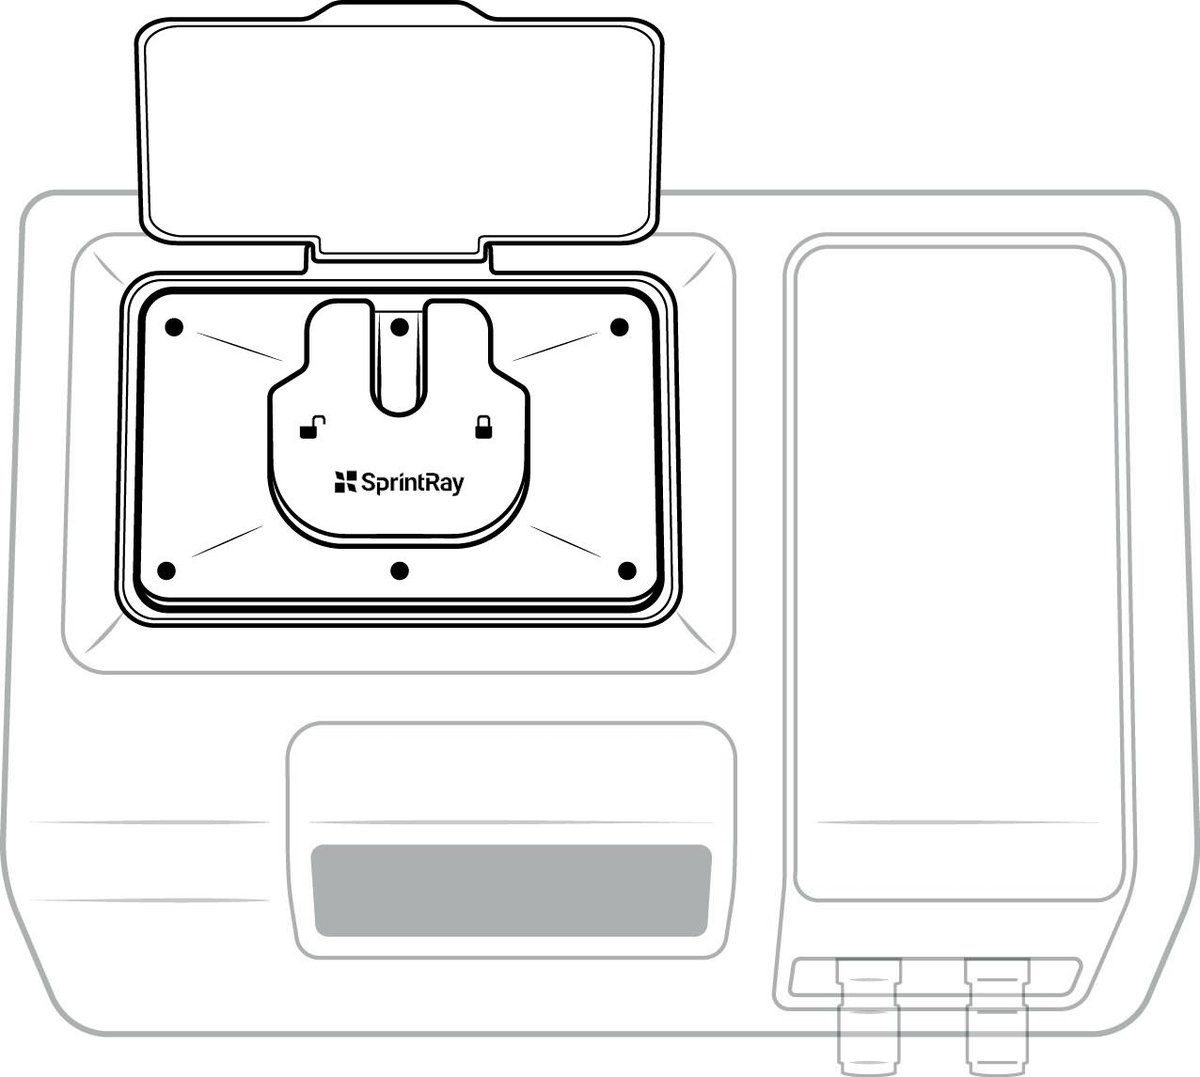
QC-C: Clean and fully dry. Do not cure wet parts.
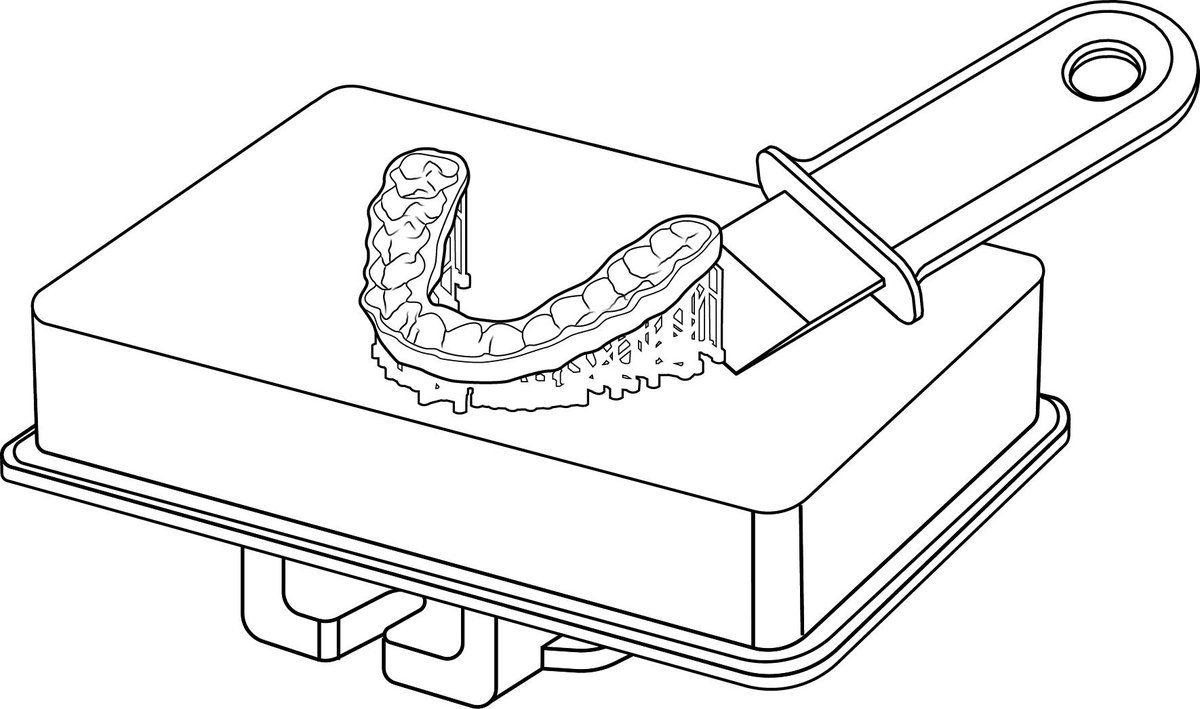
F. Post-cure
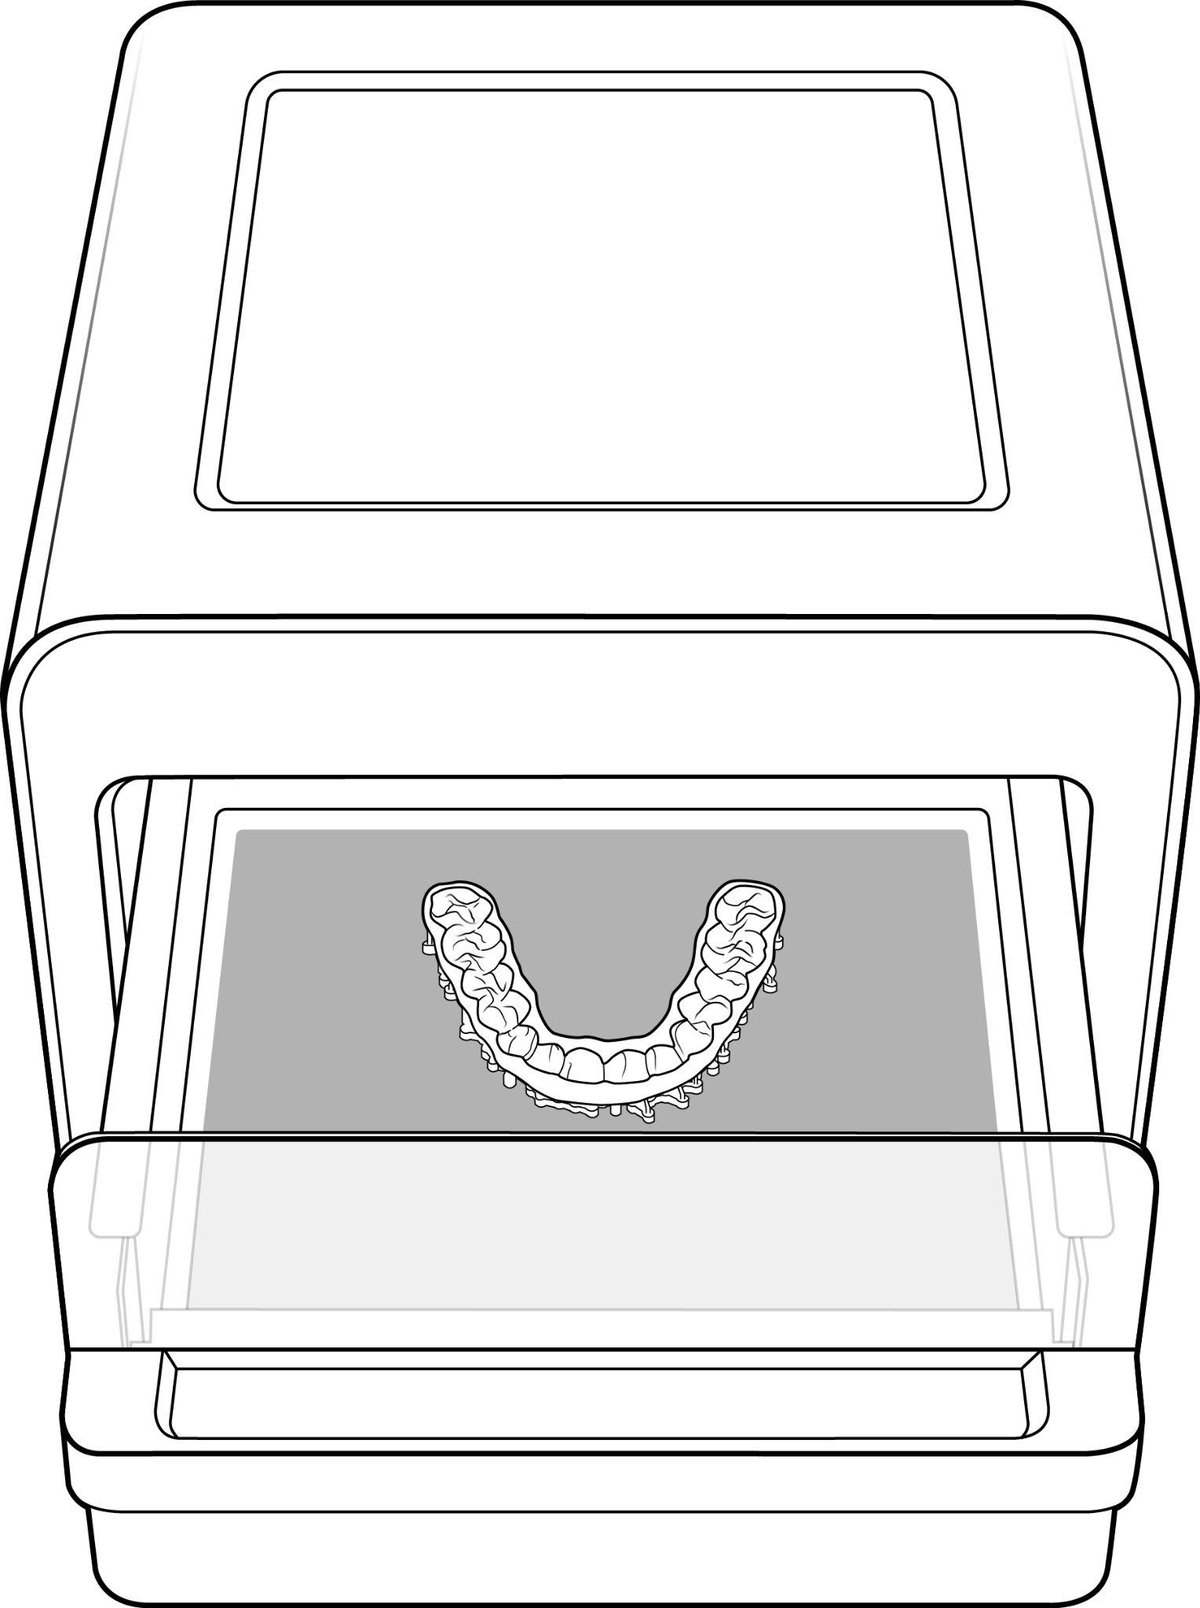
QC-D: Fully cured (no tack); supports removed without tearing margins. Fail → remake or salvage per remake criteria.
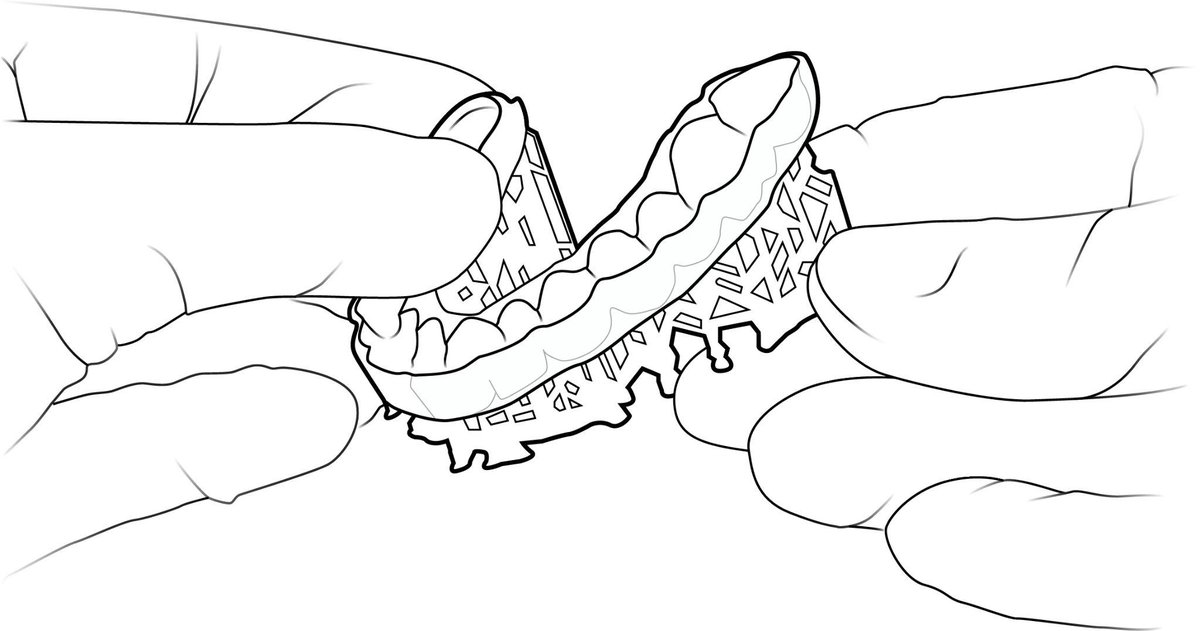
G. Finish, clean, bag (end of procedure)
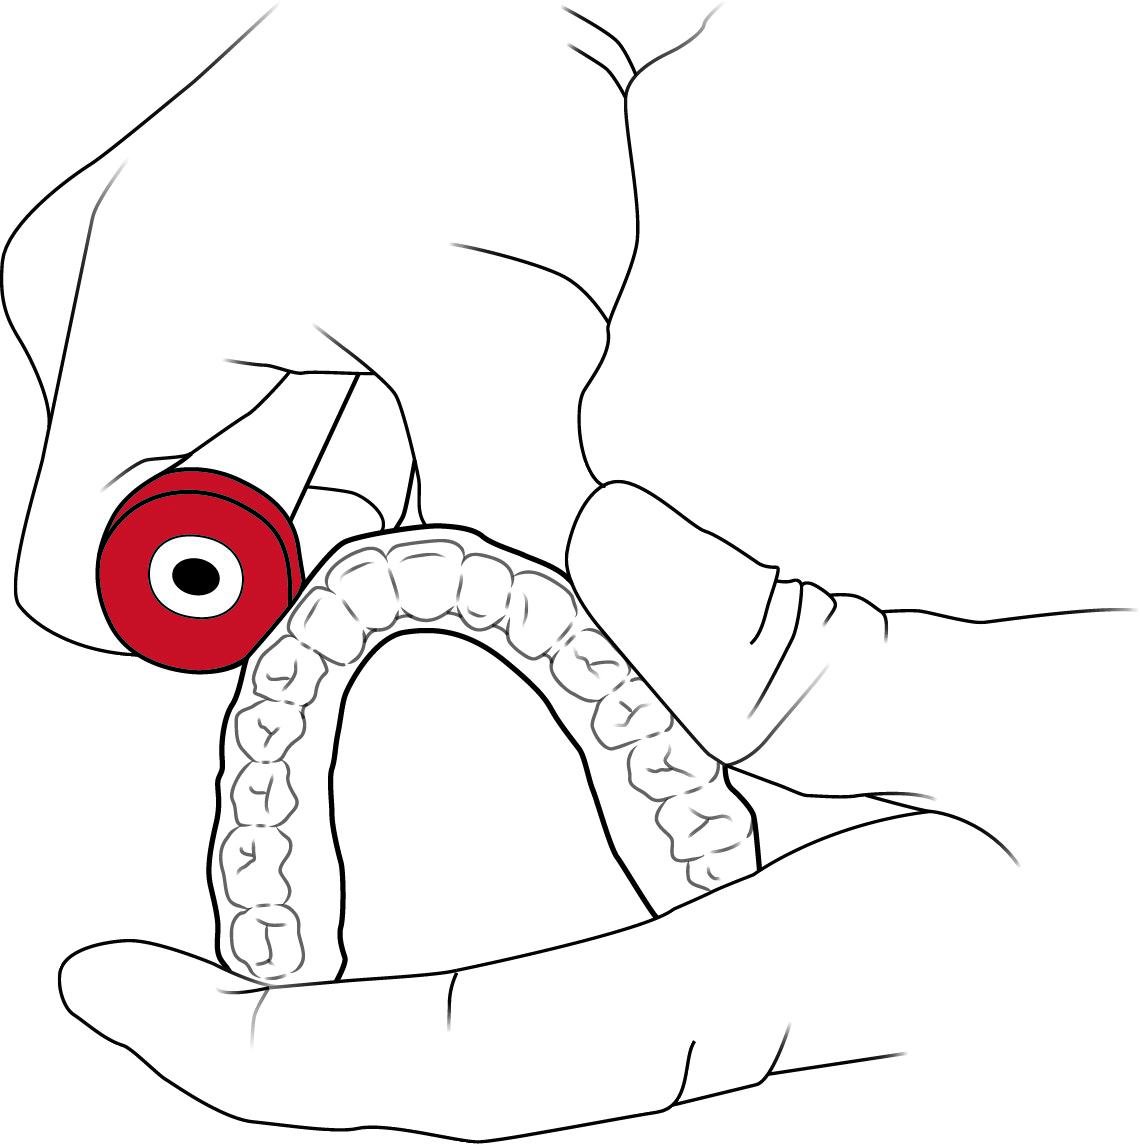
QC-E: Finish OK; cleaned; bagged; labeled; SEAZONA complete. Do not release if QC-E fails.
9. Case Log (SEAZONA)
| Field | Entry |
|---|---|
| Date | |
| Patient / case ID | |
| Medit Lab reference | |
| Arch | ☐ Max ☐ Mand ☐ Both |
| Scan QC | ☐ Pass ☐ Fail → returned |
| Designed by (3Shape Automate) | |
| Design approved by (Lab Technician) | |
| Resin (Flex 2 / Firm 2) + shade + lot | |
| Printer | Pro 2 ☐ |
| ProWash S cycle OK | ☐ Yes |
| NanoCure profile | NightGuard Flex 2 ☐ / Firm 2 ☐ |
| Lab Technician initials | |
| QC-SCAN + A–E pass | ☐ Yes |
| Remake? | ☐ No ☐ Yes — reason: ________ |
| Bagged for outbound | ☐ Yes — time ________ |
No SEAZONA bagged status = not released from the lab.
10. Quality Checkpoints
| ID | When | Pass | Fail action |
|---|---|---|---|
| QC-SCAN | After Medit Lab intake | Scans usable | Return to office |
| QC-A | Pre-print | Approved design + ≥ 1.0 mm | Return to 3Shape Automate |
| QC-B | Post-print | Complete geometry | Remake print |
| QC-C | Post-wash | Clean + dry | Re-wash/dry |
| QC-D | Post-cure | Fully cured; supports clean | Remake / salvage |
| QC-E | Before outbound | Finish + clean + bag + SEAZONA | Hold release |
11. Remake Criteria
| Finding | Action |
|---|---|
| Failed scan QC | Do not manufacture — request new scans |
| Incomplete print / delamination / major voids | Remake print |
| Printed on non–Pro 2 | Remake on Pro 2 |
| Legacy Firm used on Pro 2 path | Stop; remake with Firm 2 (or Flex 2 per Rx) on validated path |
| Wet / under-cured / wrong cure profile | Hold outbound; correct or remake |
| Torn margins after supports | Remake |
| Light support nubs only | Salvage — finish and re-check QC-E |
| Unsure | Stop and escalate to Doctor / lab lead |
12. Competency
A Lab Technician may run this procedure unsupervised after:
| Requirement | Sign-off |
|---|---|
| Read SOP-LAB-020 and Job Aid SOP-LAB-020-JA | Tech __________ Date ______ |
| Demonstrates Medit Lab intake, scan QC, 3Shape Automate import/export/approve, and process controls | Trainer __________ Date ______ |
| Completes 3 observed cases to bagged outbound with SEAZONA log | 1. ______ 2. ______ 3. ______ |
| Trainer attests ready | Trainer __________ Date ______ |
| Lab lead authorizes unsupervised production | __________ Date ______ |
13. Troubleshooting & Escalation
| Problem | Action |
|---|---|
| Bad scans in Medit Lab | QC-SCAN fail → return to office |
| Print failure | Remake; filter resin; verify material assignment on Pro 2 |
| Soft / tacky after cure | Confirm dry part and exact Flex 2 / Firm 2 NanoCure profile; remake if needed |
| Tight / loose fit noted after lab QC | Escalate to Doctor; remake from approved design if authorized |
| Allergy or wrong indication noted | Stop — Doctor; do not manufacture |
| Legacy Firm requested on Pro 2 | Stop; switch to Firm 2 or escalate |
Escalate to Doctor / lab lead: unclear Flex vs Firm Rx; allergy; chronic remakes; IFU deviation requests.
Escalate to office (Medit Lab / SEAZONA): failed scan QC; missing prescription.
SprintRay Support: 1-800-914-8004 — missing NanoCure NightGuard Flex 2 / Firm 2 profile; repeated Pro 2 failures.
14. References
- SprintRay NightGuard Flex 2 IFU-023_4 (effective 10/28/2025)
- SprintRay NightGuard Firm 2 IFU-024_4 (effective 06/25/2024)
- SprintRay Master Workflow Guide — Night Guards (effective 2/22/2024)